treasuring the little things while lovingly pursuing the adventure of life, motherhood, and all things wonderful and tedious
Thursday, March 31, 2011
Saturday, March 26, 2011
Things I learned while trying to sew shorts.
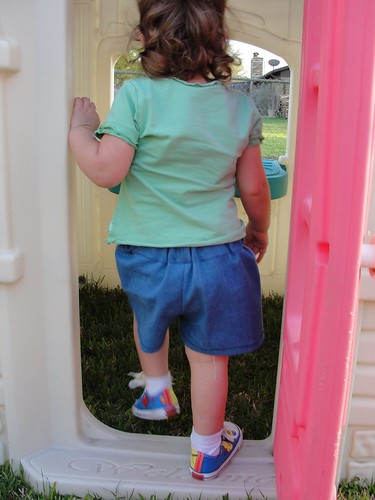
This week I decided that my daughter needed some shorts, and that rather than running to the store to buy some, I would pull out my sewing machine and use materials I had on hand to make her some. I am in no way an experienced seamstress, so after much trial and error, here is what I learned while trying to sew shorts:

- Read the whole pattern, look at the pictures, and visualize the instructions in your head before you even start.
- Shorts require at least four separate pieces, two front panels and two back. If the pattern instructs you to cut the back panel on the fold of the fabric - pay attention - you may need to cut the fold to make two pieces - or you will end up trying to fold origami for an hour and wondering why the shorts don't look right.
- The iron is your friend.
- When using "on-hand" supplies, if you can't locate a matching thread color go for contrast - this way it will look like you planned it instead of looking like you just didn't have the right thread.
- When stocking up on "on-hand" supplies, it is better to purchase 3/4th inch elastic - not 1 inch. Most children's pants call for 3/4th.
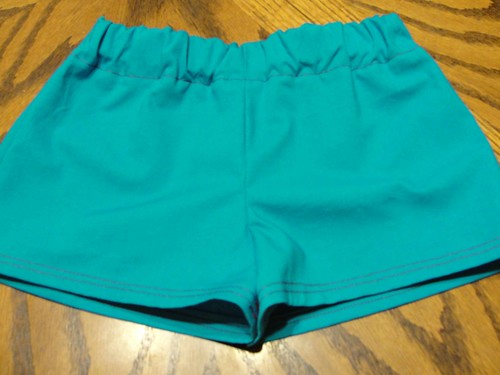
- Learn to use the foot of your sewing machine as a measuring guide - straight lines with little headache.
- If the pattern tells you to use a safety pin to guide the elastic through the waistband, do it. It will turn an otherwise 30 minute struggle into a 3 minute job.
- It is ok to rip out seams. Everyone does it. I do it a lot.
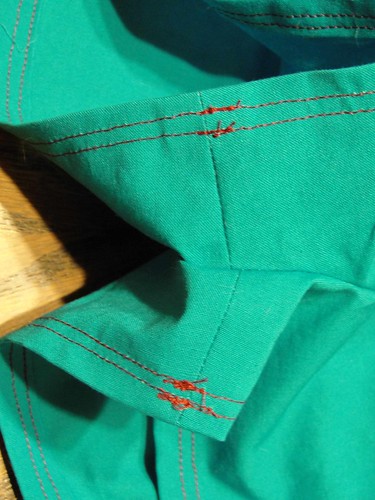
- When hemming the leg openings - start the machine at the inner leg so that the start and stop will not be as visible.
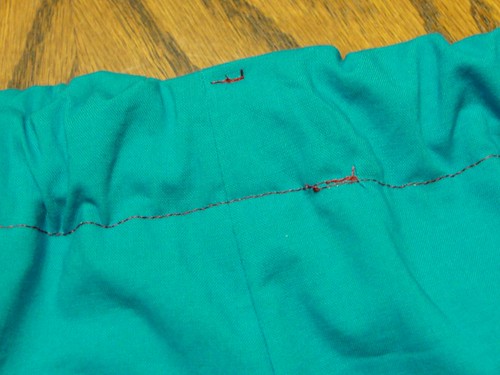
- Mark which side of the shorts is the backside right away - you will not be able to tell later and will wonder why the shorts look funny on your daughter.
Some Free Children's Shorts Patterns Available Online:
Create & Delegate: The Anyday Banded Shorts
The Long Thread: Skirt with Built-in Shorts
Handy Home via Sew Mama Sew: Easy Kid's Pants
Friday, March 25, 2011
Research: Wool Diaper Covers
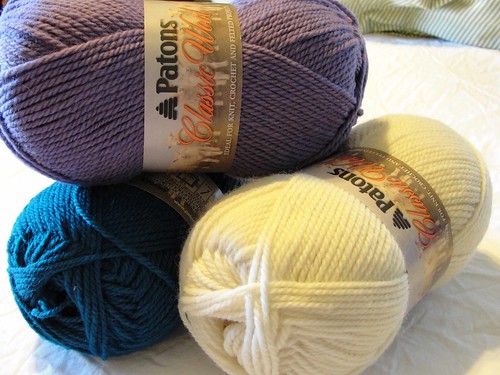
My latest cloth diapering pursuit is the wool soaker. With a new baby on the way, I am thrilled to be knitting away sweet little pants to keep babies bottom dry. I haven't tested them out myself yet, but the feedback on wool is amazing - so many mothers swear by keeping their cloth diapered babies in wool! I am currently working on soakers for both my sweet baby Helen and her new little sister.
Why Wool?
Planet Green: Organic Wool Diaper Covers: Do They Really Work?
The Cloth Diaper Experience: The Wonders of Wool Soakers
HubPages: Wool Diaper Covers: Eco-Friendly Baby
Nifty Nappy: Wool
Kayla's Cloth Kits: All About Wool
Free Patterns for Wool Diaper Covers and Wraps:
Itchy Fingers Longies Ravelry Download
Spare Ribs Shoaker Ravelry Download
WHW Plain Wrap Ravelry Download
Curly Purly Soaker PDF
Easiest Crochet Wool Soaker Crochet Castle
DIY Wool Diaper Soaker Out of a Sweater ScrimplyThrifty
Instructions for Lanolizing and Washing Wool Soakers:
Green Mountain Diapers: How to Wash or Lanolize Wool Diaper Covers
Closeknit: Wool Soaker Care Guide
Lots of Extra Help and Guidence:
Ravelry Group: Soakers & Longies
Of course, I plan to share my wool projects and test runs - stay tuned!
Saturday, March 19, 2011
The Return of Sweet Bread
The following photos were taken Christmas Eve (day) when I tried out the sweet braided loaf recipe from the King Arthur Flour demo. Because of normal Christmas business followed by our fun bout with the flu, I never got around to posting them.
The recipe was given out at the demo, so here is a similar recipe from kingarthurflour.com : Braided Lemon Bread.
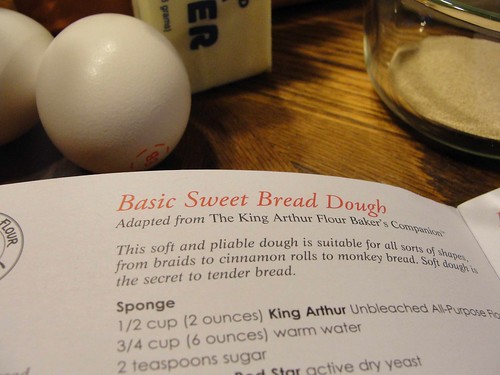
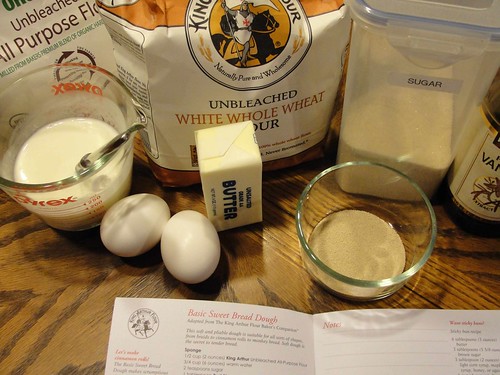
Gather Ingredients, oooo look! King Arthur Flour! I love this White Whole Wheat!
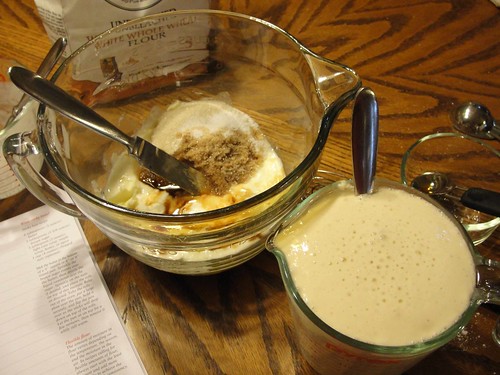
Here my sponge sits on the lower right, it almost grew out of the cup! And, ?, I don't remember why I had a knife in the sugar mixture.
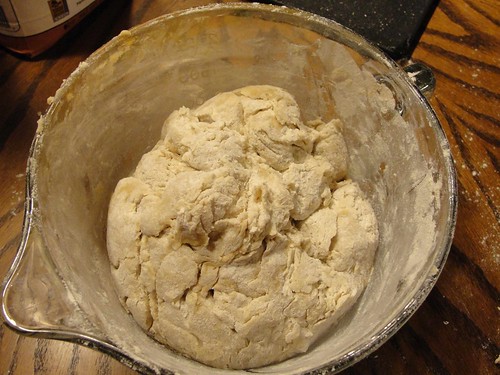
The unkneaded dough after mixing everything together.
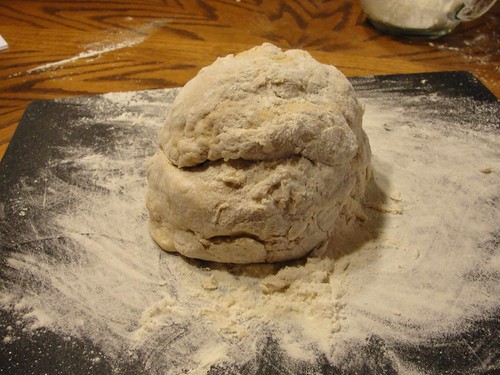
We learned at the demo that it is important to not use too much flour on your workspace - this is too much flour. Oops.
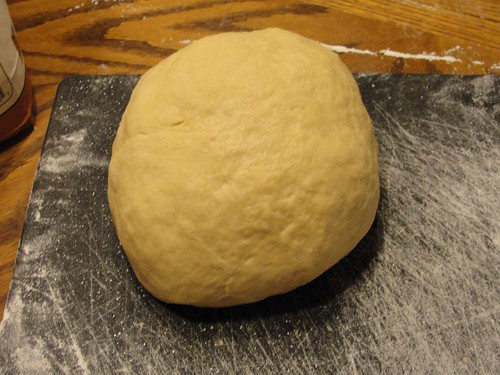
The dough after kneading.
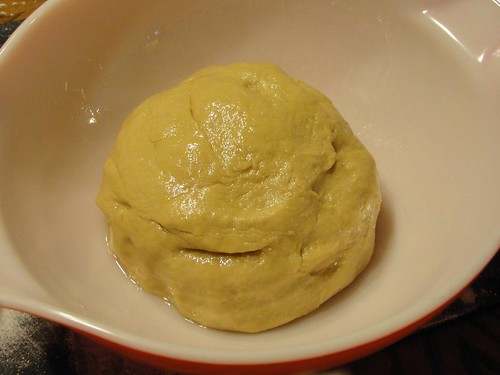
Putting the kneaded dough in an oiled bowl to let rise. I believe this is also too much oil. It has to sit about 1 1/2 hours.
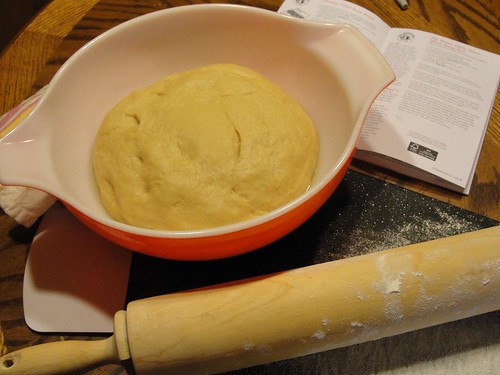
The risen dough. This is where a dough rising bucket would come in handy.
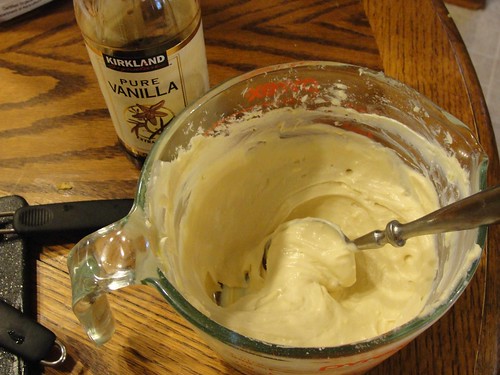
Mixing the cream cheese filling. This is where I realized my lemon was in a bad state and I juiced an orange in its place - turned out quite delicious.
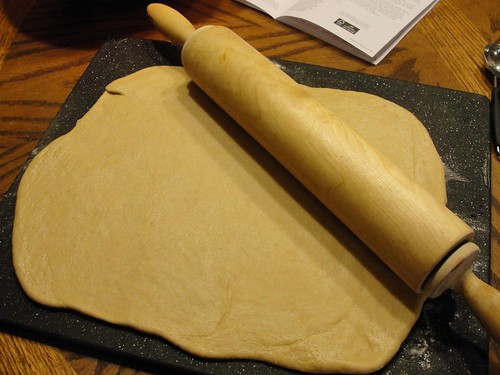
Trying to roll the dough out into a rectangle is more difficult than I imagined.
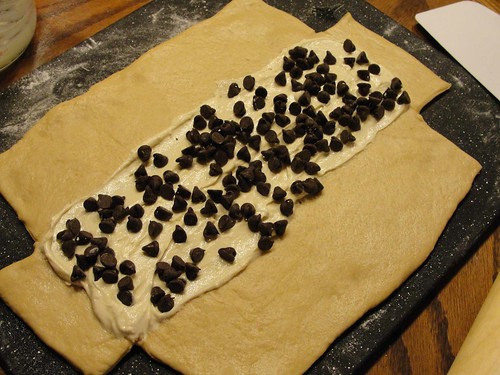
Cutting the dough to make the "braid". This was my second attempt - the first was not worthy of a photo. Filled the center with cream cheese filling and semi-sweet chocolate morsels.
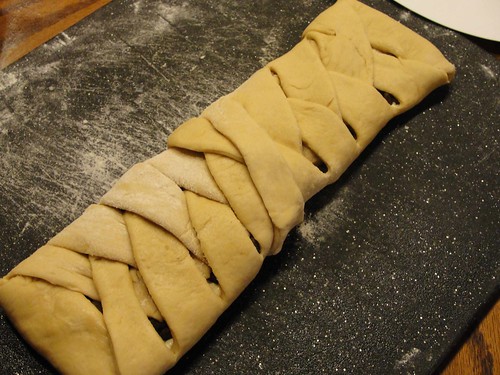
The braided loaf. I forgot to photograph the process of cutting the strips, this is definitely a test of your ability to visualize the desired outcome.
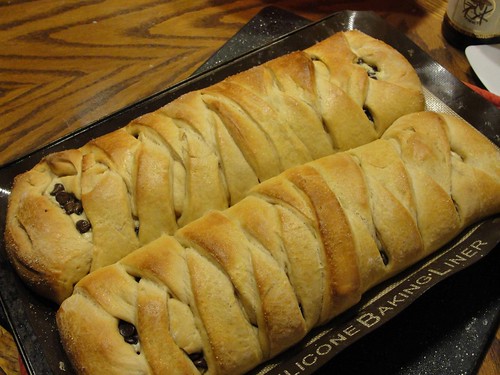
The finished and baked loaves. These were enjoyed both Christmas Eve and Christmas Day by friends and family. Overall it seemed more like an art project than like bread baking and was a lot of fun!
The recipe was given out at the demo, so here is a similar recipe from kingarthurflour.com : Braided Lemon Bread.


Gather Ingredients, oooo look! King Arthur Flour! I love this White Whole Wheat!

Here my sponge sits on the lower right, it almost grew out of the cup! And, ?, I don't remember why I had a knife in the sugar mixture.

The unkneaded dough after mixing everything together.

We learned at the demo that it is important to not use too much flour on your workspace - this is too much flour. Oops.

The dough after kneading.

Putting the kneaded dough in an oiled bowl to let rise. I believe this is also too much oil. It has to sit about 1 1/2 hours.

The risen dough. This is where a dough rising bucket would come in handy.

Mixing the cream cheese filling. This is where I realized my lemon was in a bad state and I juiced an orange in its place - turned out quite delicious.

Trying to roll the dough out into a rectangle is more difficult than I imagined.

Cutting the dough to make the "braid". This was my second attempt - the first was not worthy of a photo. Filled the center with cream cheese filling and semi-sweet chocolate morsels.

The braided loaf. I forgot to photograph the process of cutting the strips, this is definitely a test of your ability to visualize the desired outcome.

The finished and baked loaves. These were enjoyed both Christmas Eve and Christmas Day by friends and family. Overall it seemed more like an art project than like bread baking and was a lot of fun!
Sunday, March 6, 2011
On My Needles: March
Get ready to be overwhelmed... I am.
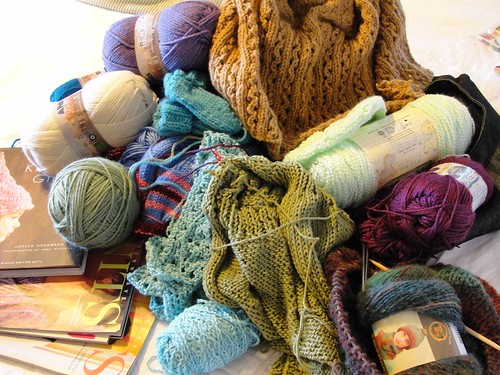
First, Off My Needles:
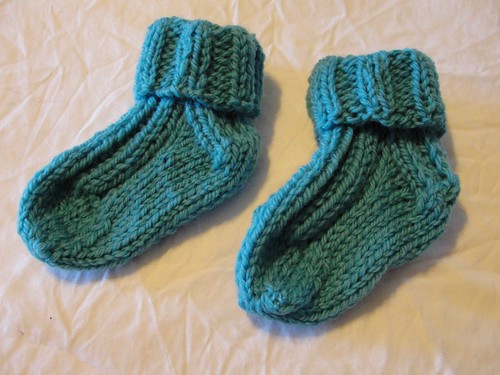
Jelly Bean Socks to match baby's teal diaper wrap.
Made from the free pattern available on Spud Say's the Blog (a blog of Spud & Cloe Yarn).
On My Needles:
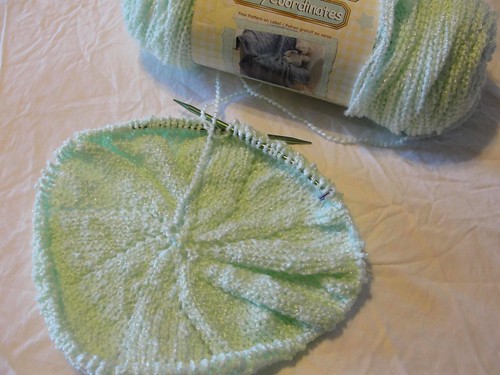
A baby blanket, in the round, Round or Pinwheel Baby Blanket.
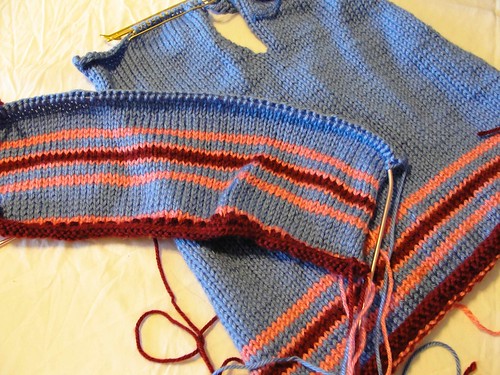
Helen's Blue Sweater, still a work in progress, but big enough to fit her next year.
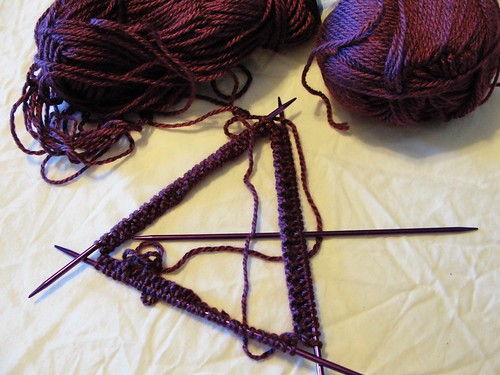
A hat, for the high school student at work who plans to attend a school that loves purple.
The Brambles Beret from Knitty.
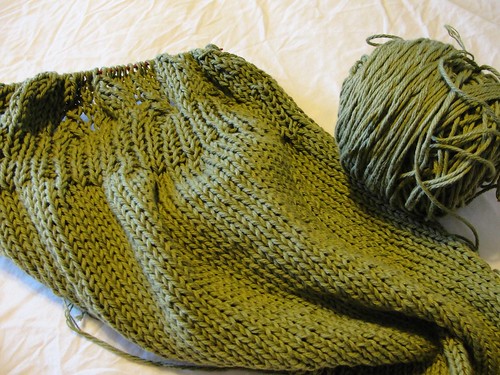
My Sweater, is that an inch or two of lacework??
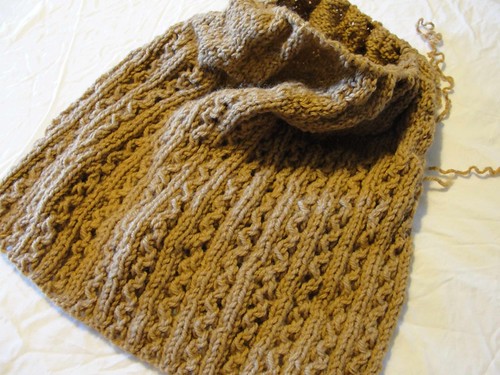
Mom's Shrug, just hanging out.
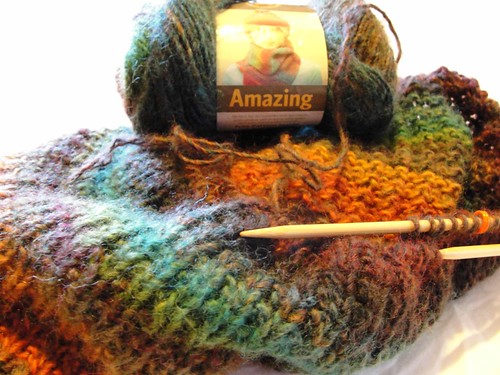
Group project cowl, almost done.
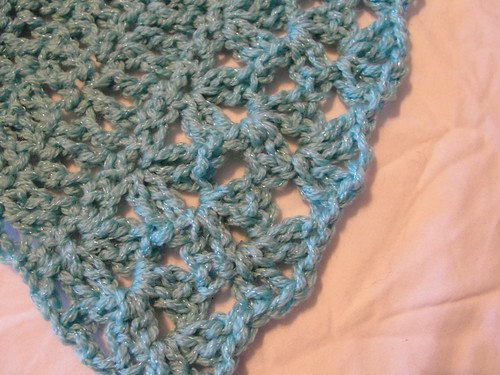
And something crochet, in honor of Crochet Appreciation Month.
In the Works:
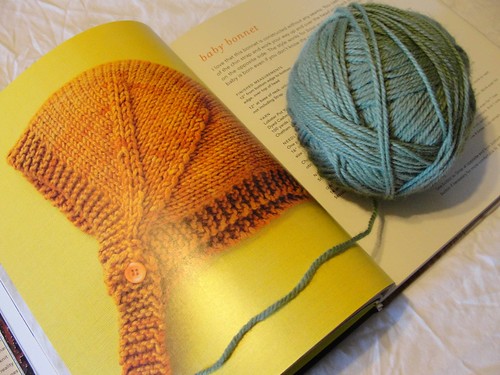
A bonnet for baby, made with yarn chosen by a friend.

More diaper covers - longies & shorties too?
In My Dreams:
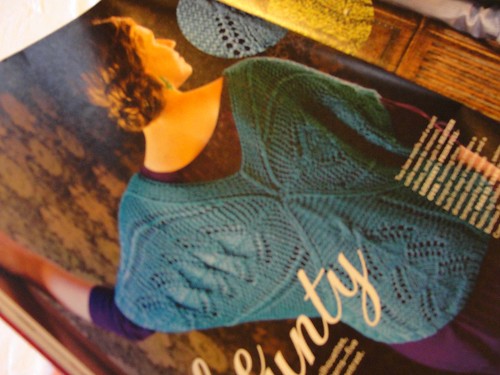
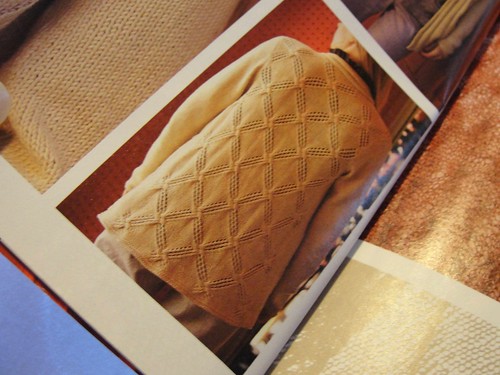
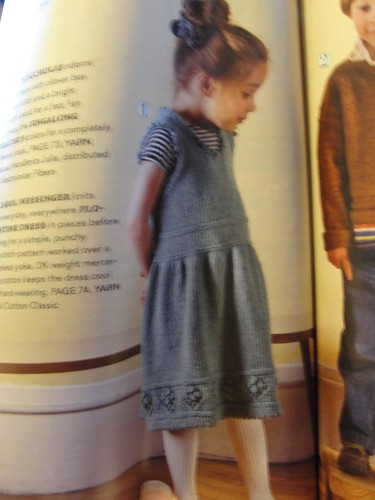

First, Off My Needles:

Jelly Bean Socks to match baby's teal diaper wrap.
Made from the free pattern available on Spud Say's the Blog (a blog of Spud & Cloe Yarn).
On My Needles:

A baby blanket, in the round, Round or Pinwheel Baby Blanket.

Helen's Blue Sweater, still a work in progress, but big enough to fit her next year.

A hat, for the high school student at work who plans to attend a school that loves purple.
The Brambles Beret from Knitty.

My Sweater, is that an inch or two of lacework??

Mom's Shrug, just hanging out.

Group project cowl, almost done.

And something crochet, in honor of Crochet Appreciation Month.
In the Works:

A bonnet for baby, made with yarn chosen by a friend.

More diaper covers - longies & shorties too?
In My Dreams:


Thursday, March 3, 2011
A Knit & Run

Photo by: Vania
Let's kick this crochet party off with a splash: a fun combination of knit and crochet + friendly "graffiti" = a good time had by all! Vania, the leader of our "Knit While They Nap" group on Ravelry organized a yarn bomb in which she beautified the streets of St. Louis with knit and crocheted flowers. Check out her blog post and join in the fun by crocheting flowers to beautify March!
Here are some free crochet flower patterns to get you started:
Flower Appliques from Donna's Crochet Designs
Sunflower Bookmark from Close to My Heart
Pretty Crochet Flowers from Faeryfay's Flowers & Knits
Headband with Flower from CreativeYarn
and there are many many more when you search for "flower" on Ravelry!
Wednesday, March 2, 2011
National Crochet Month!
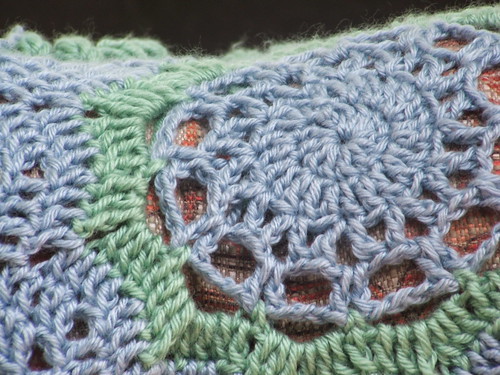
Did you know that March is officially "National Crochet Month"? I am not sure who assigned it as such, but I am all for celebrating crochet!
Ravelry has a fun group dedicated to a month of partying in honor of National Crochet Month (International too!) My ravelry friends are celebrating by (a) learning a new crochet technique, (b) teaching someone else how to crochet, or (c) doing anything else crochet related!
I have big plans for a couple of projects... coming soon.
What are you going to do to celebrate?
Subscribe to:
Comments (Atom)
Please, do not reproduce any content from this site without my written permission. You can reach me directly at lonestar(dot)knits(at)yahoo(dot)com. Thank you.