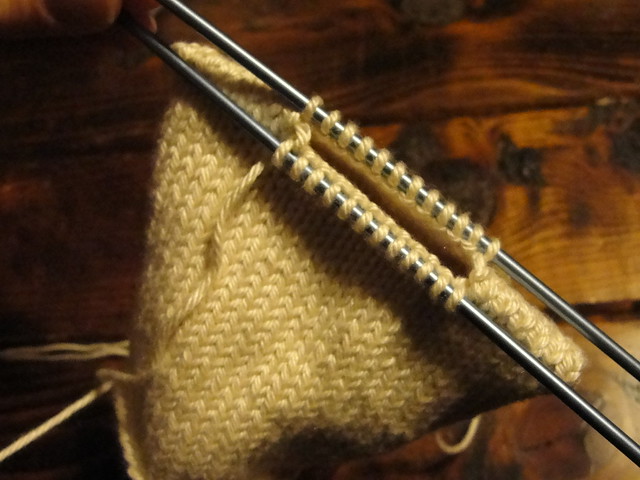
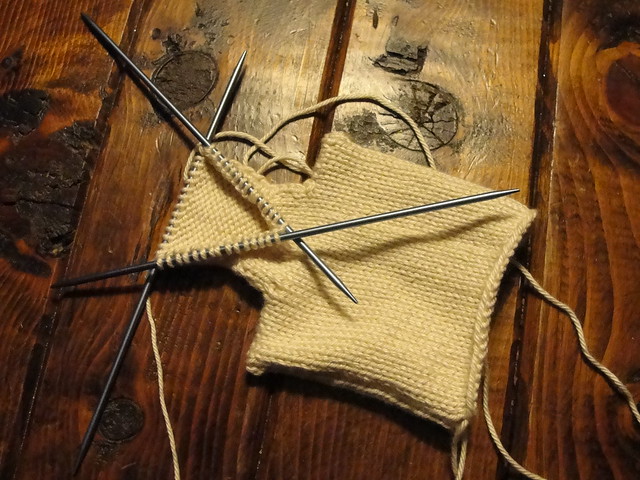
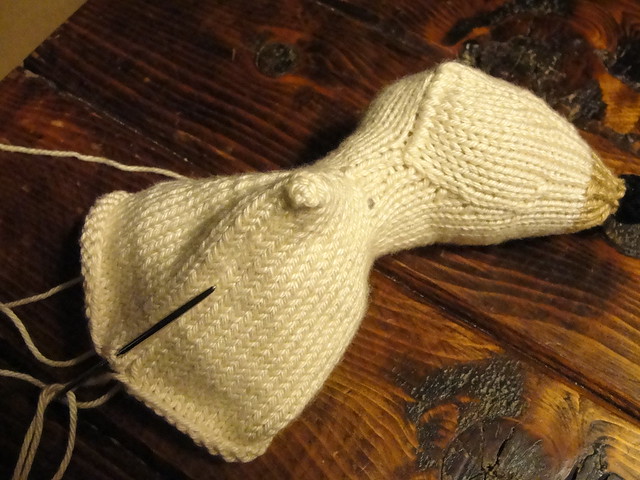
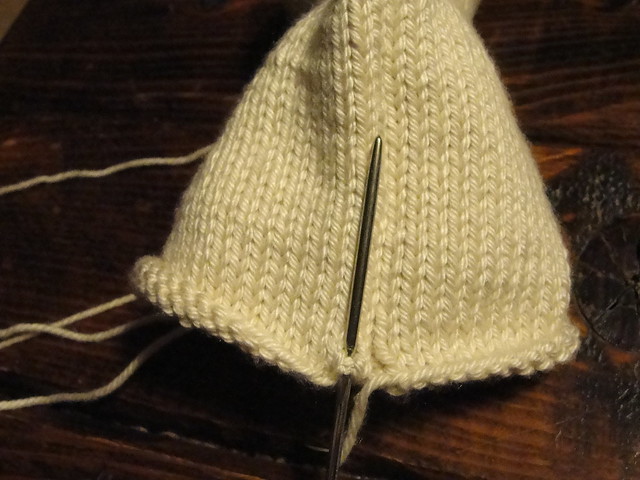
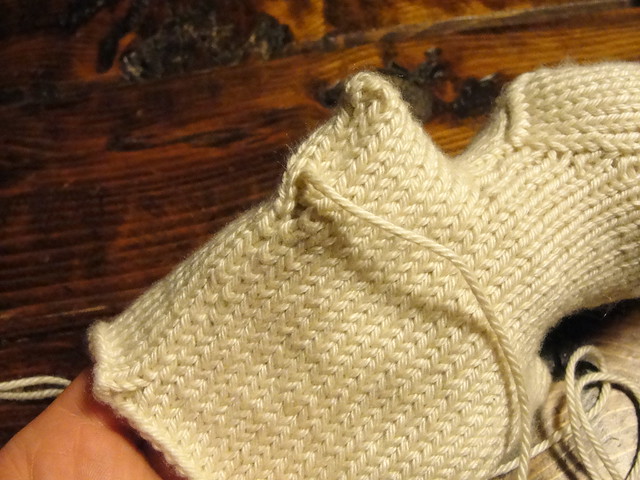
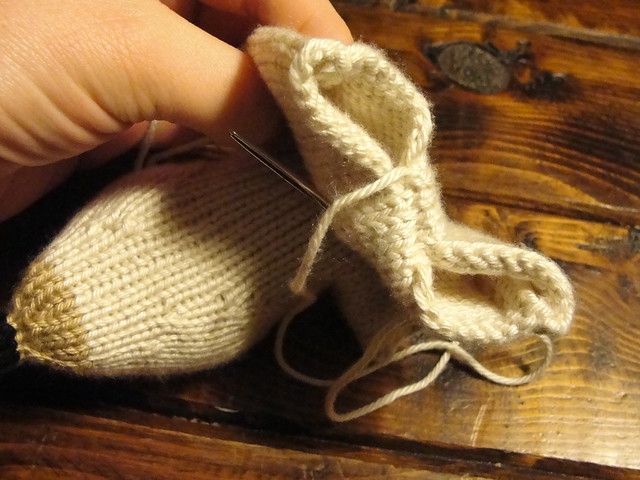
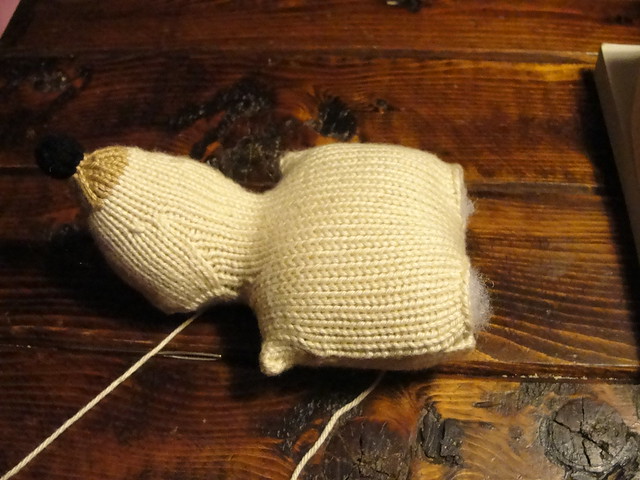
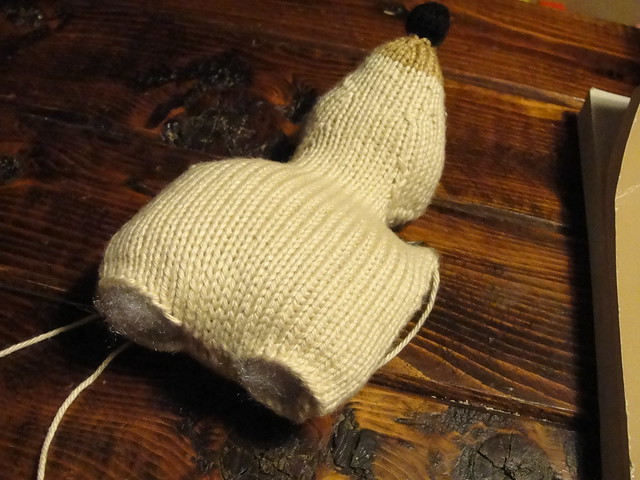
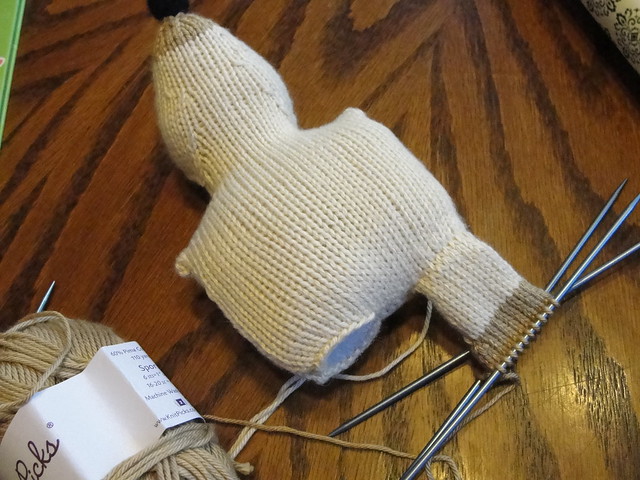
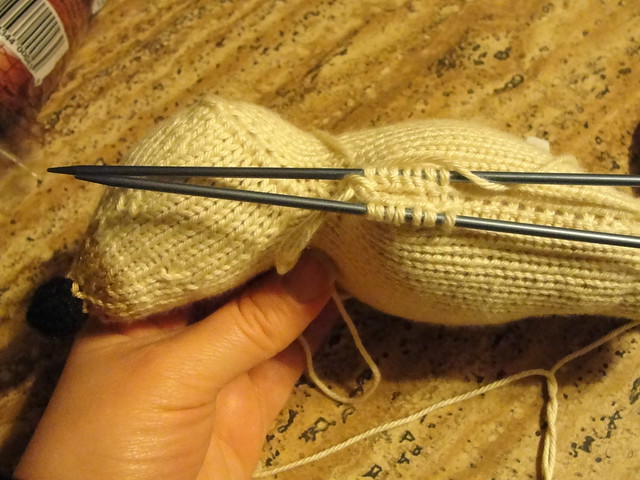
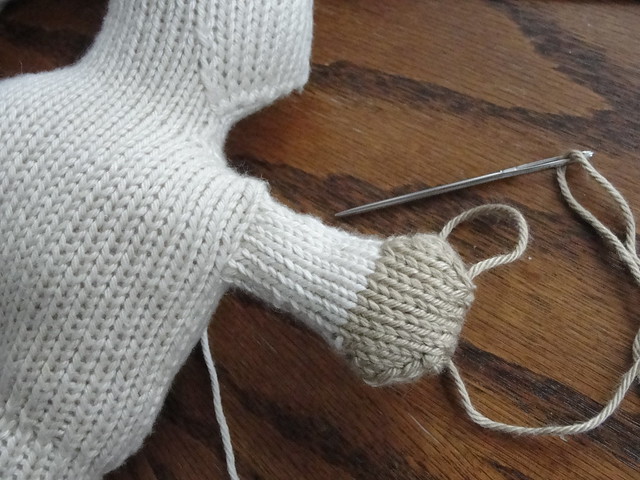
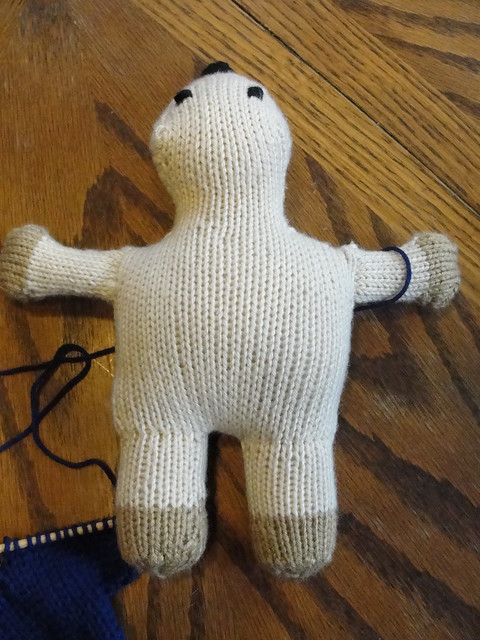
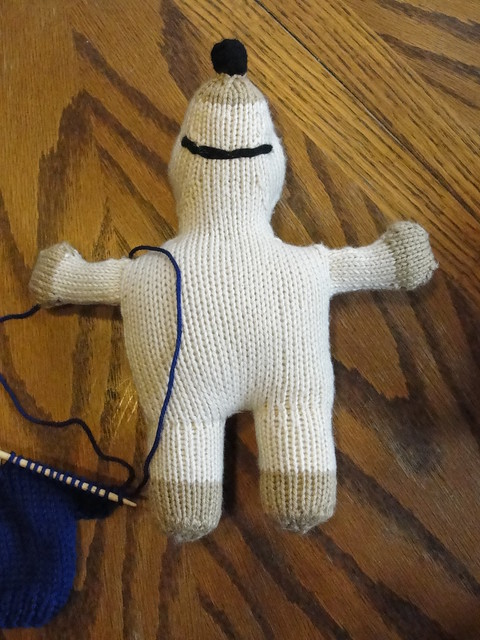
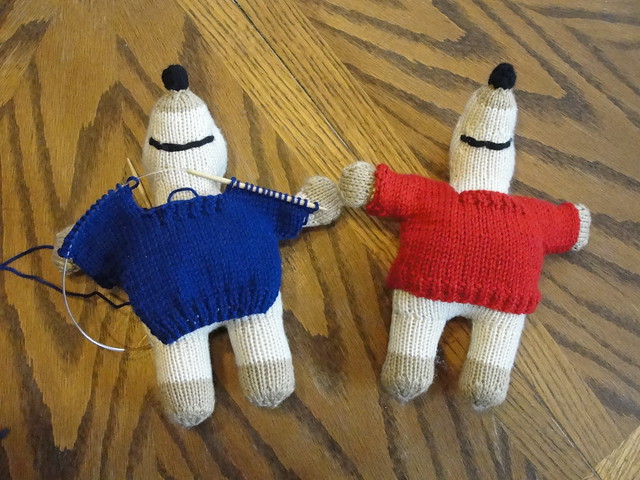
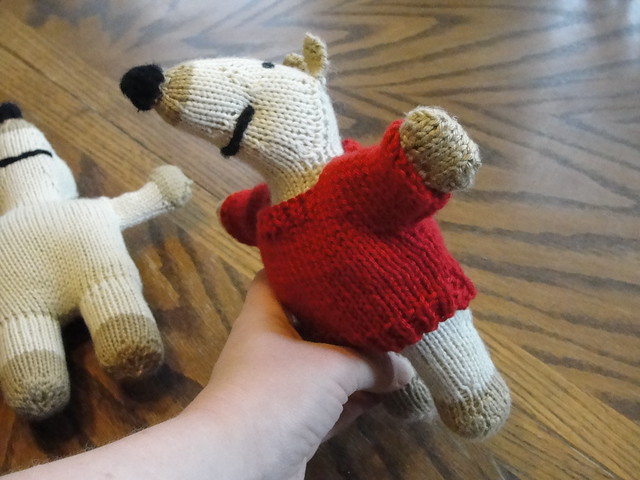
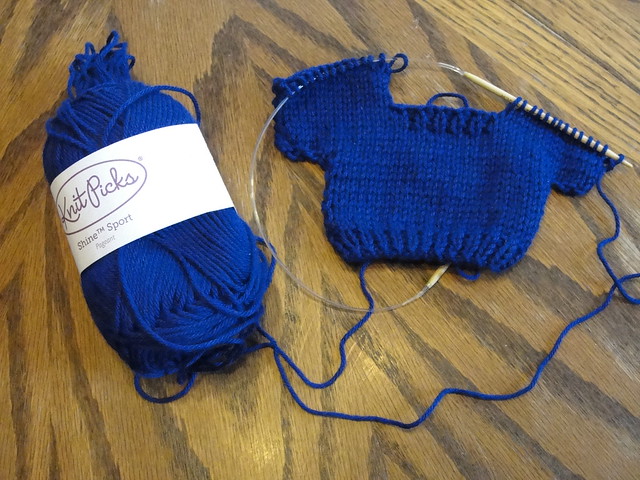
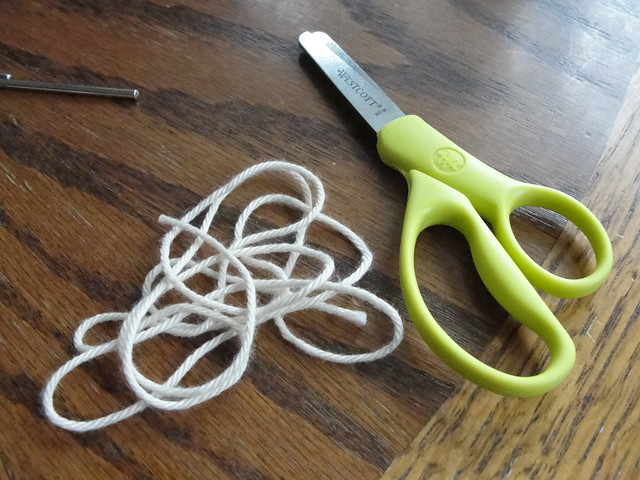
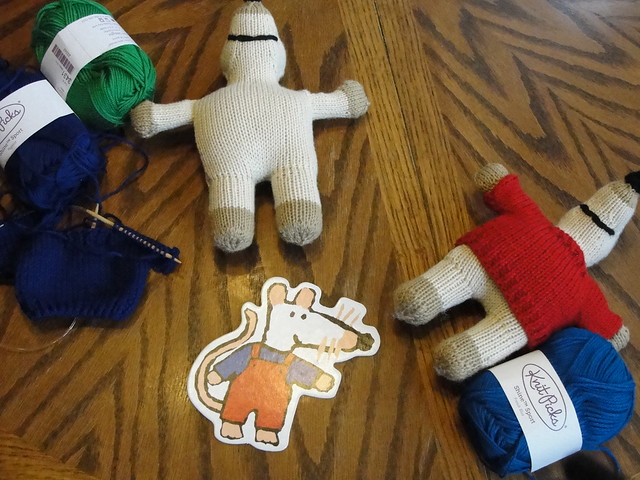
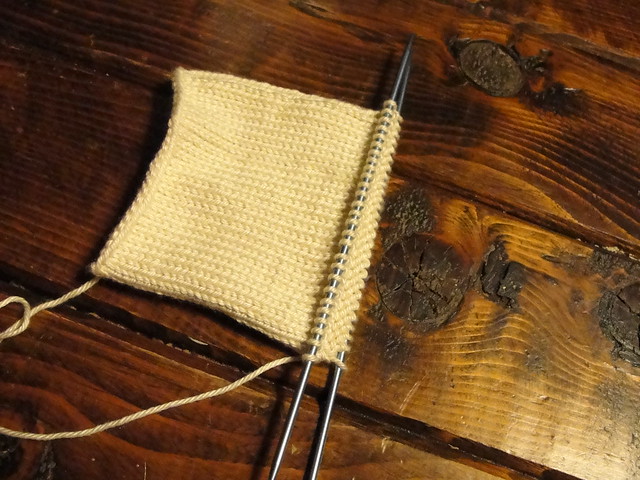
I am drafting the pattern for this little friend... take a look at how she is made!
(this is all the yarn I had left after 2 Mice from the Knit Picks Shine Sport skein!)
treasuring the little things while lovingly pursuing the adventure of life, motherhood, and all things wonderful and tedious
Tuesday, December 25, 2012
Saturday, December 15, 2012
Knitting a Christmas Stocking and I Won!
I have been working on my first ever stranded colorwork Christmas stocking.
This one is for Clare.
Two years ago I crocheted Helen's Christmas Stocking, but now that I am a little more talented in the knitting department it was time to knit one.
I am following the free / donation pattern Tis the Season Stocking by Kate Weston, but as usual I am adding my own spin to the design - mainly substituting my reindeer motif for the heart motif in the second chart of the pattern. The reindeer motif is from the free Knitty pattern Baby Norgi.
Knitting this stocking makes me crave more colorwork! I love it!
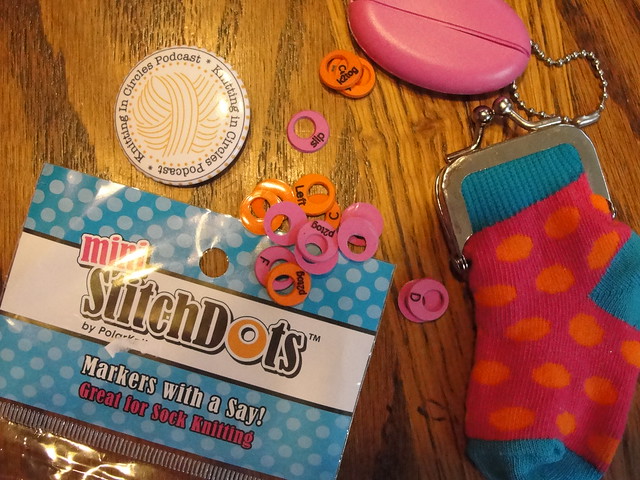
In other happy news, I won a prize from one of my favorite video podcasts - Knitting in Circles.
These are some really awesome stitch markers, such a cute little sock bag for them, and one of Aimee's Knitting in Circles buttons - which I am so excited to have! Thank you Aimee and Darren, I can't wait to use them when I finally knit a real pair of socks!
Wednesday, December 12, 2012
Sewing a Mary Costume
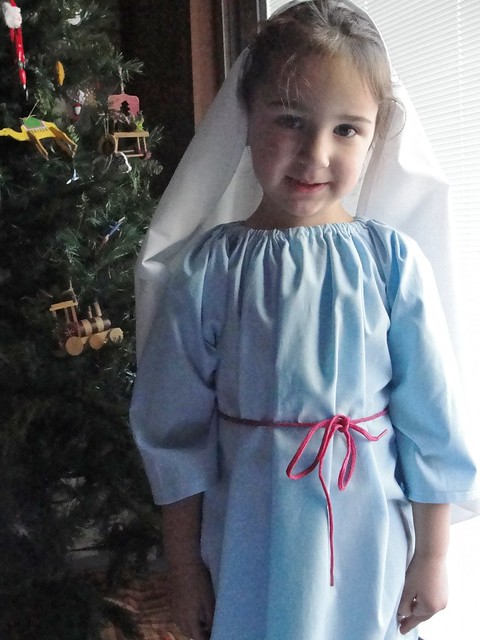
For someone who doesn't often sew, I sure am sewing a lot lately! I have always considered myself a utilitarian sewer... one who sews for need not beauty, but I think this last minute Mary costume turned out quite beautiful. I used a nightgown pattern from Making Children's Clothes by Emma Hardy.
The gown took two yards of light blue fabric and the veil is just one yard, hemmed, and pinned to the sides of Helen's hair. She is trying it out for our friend's daughter who will be Mary in her school's play this year.
Just change the color of the fabric and you have the perfect tunic for any shepherd or angel.
Tuesday, December 11, 2012
Clare's Sweater
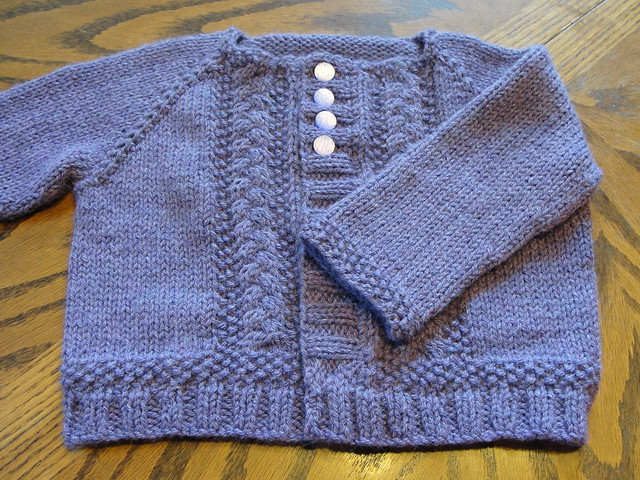
Here is a look at Clare's finished sweater. This ended up as a mish-mash of patterns...
and a little of my own thoughts.
Yarn is Berroco Vintage in Lilac. Buttons are from Aunt Tillie's stash. Cables are from the Tuckernuck pattern. The baby is mine.
and a little of my own thoughts.
Yarn is Berroco Vintage in Lilac. Buttons are from Aunt Tillie's stash. Cables are from the Tuckernuck pattern. The baby is mine.
Friday, December 7, 2012
Sew a tree skirt during naptime
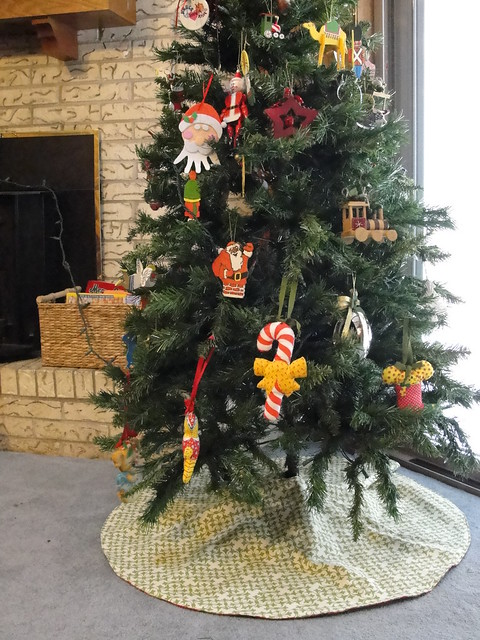
Crazy Christmas brain had me wanting to sew a "real" tree skirt for our tree this week. For the past few years... 7 years... I have just tucked a random tablecloth or piece of fabric around the base of our wimpy little fake tree. This year, I wanted an actual skirt.
This is not the recommended way to make a tree skirt, but it was effective.
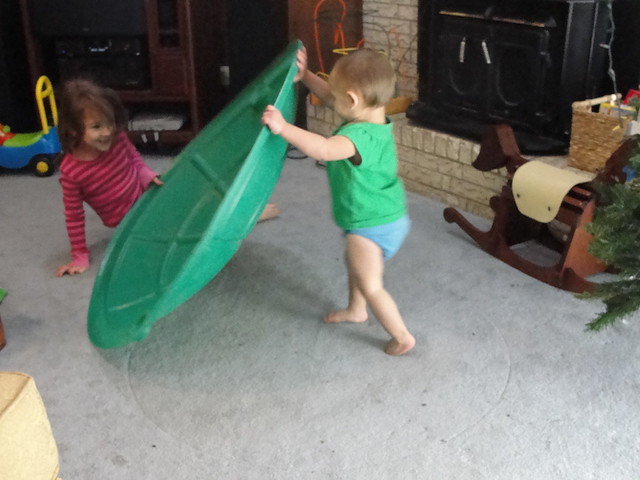
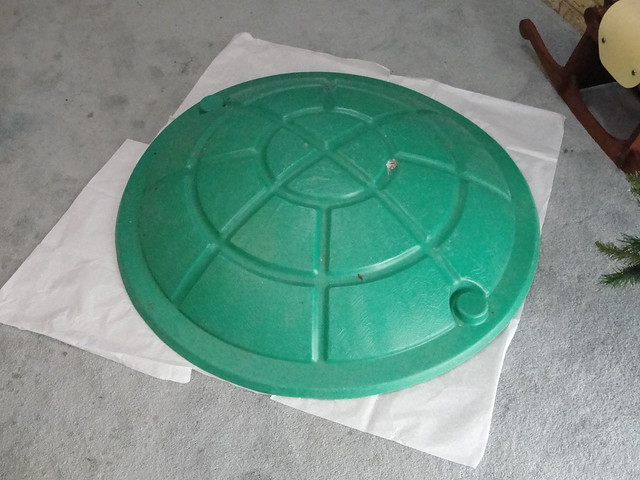
First, a tree skirt needs to be round (well most of the time). I took geometry. I do not remember much. When I want to draw a circle - I trace a water glass. I need a really big water glass - or in this case - the lid to our sandbox.
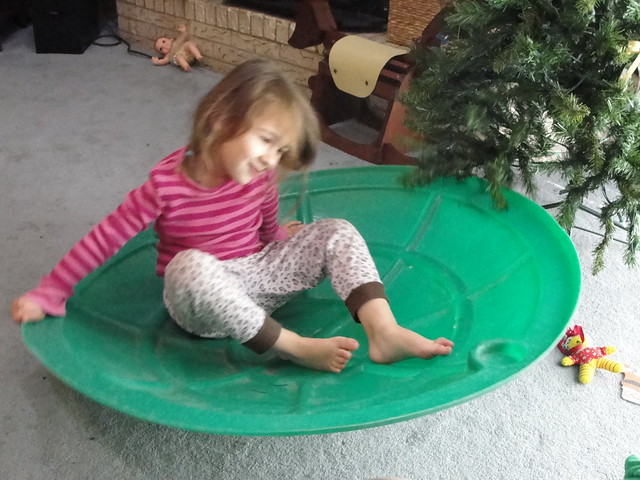
The girls were very happy to help. Then they were too helpful and I shut them in their room together for a few minutes so the wouldn't tear up my tissue paper.
This is were I stopped... and restarted during nap time. I used my tissue template to cut a circle out of 2 fabrics. I used upholstery weight fabrics.
Match right sides together.
Cut a line from edge to interior, and a small circle in the center for the stem of your tree.
Pin at least the center. Yes! I used pins!!
Carefully sew around all edges leaving a 4 to 6 inch hole for turning the skirt right side out.
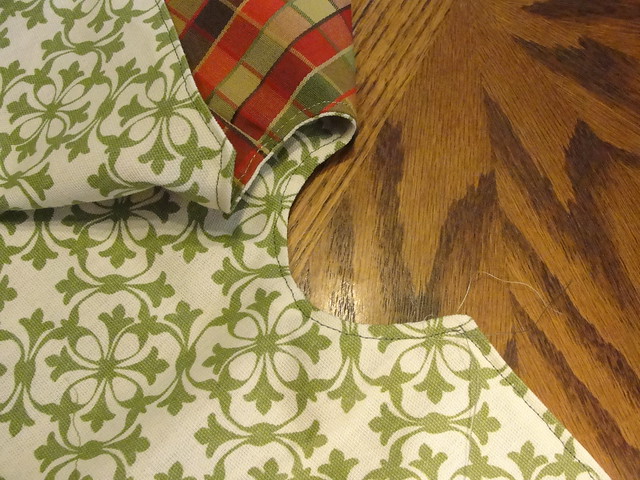
Flip! And top-stitch around all edges.
Pretty!
I think top-stitching looks so nice!
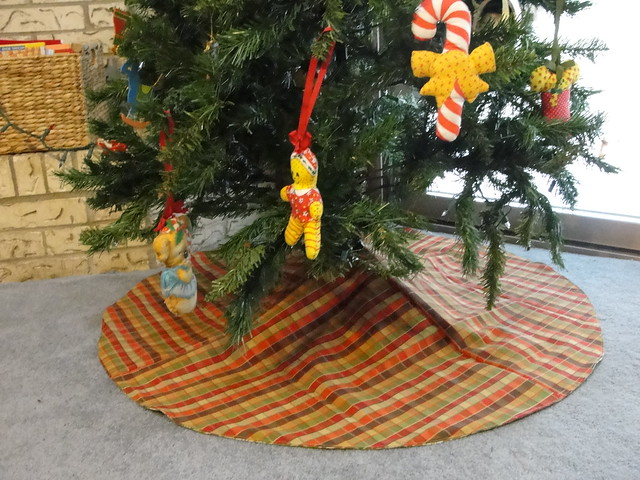
And the finished product! I like the red side best right now, but hopefully we will someday get new carpeting, and then maybe I will use the green side.
Have you ever decided you needed something and improvised to get it done in one day? Or one nap time?
This is not the recommended way to make a tree skirt, but it was effective.
First, a tree skirt needs to be round (well most of the time). I took geometry. I do not remember much. When I want to draw a circle - I trace a water glass. I need a really big water glass - or in this case - the lid to our sandbox.
The girls were very happy to help. Then they were too helpful and I shut them in their room together for a few minutes so the wouldn't tear up my tissue paper.
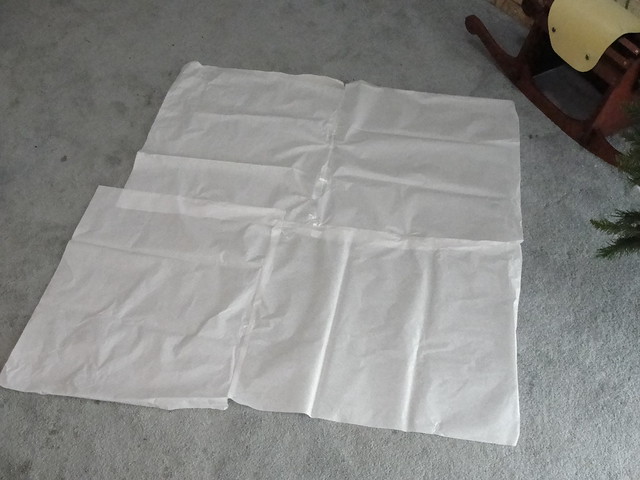
This is were I stopped... and restarted during nap time. I used my tissue template to cut a circle out of 2 fabrics. I used upholstery weight fabrics.
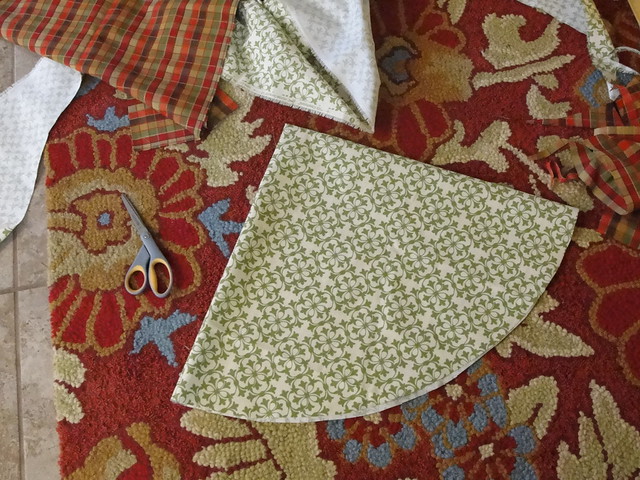
Match right sides together.
Cut a line from edge to interior, and a small circle in the center for the stem of your tree.
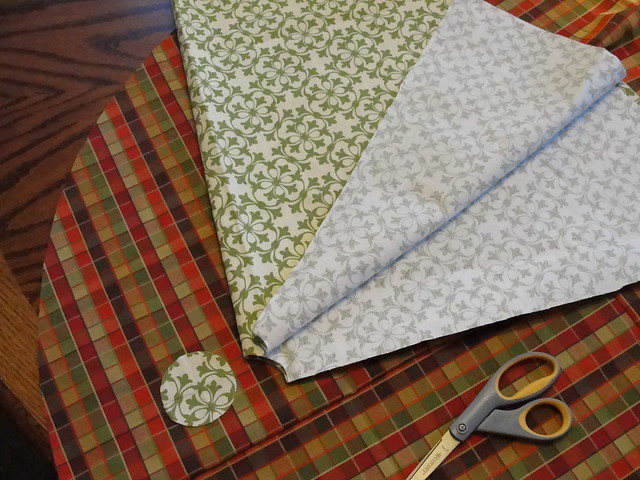
Pin at least the center. Yes! I used pins!!
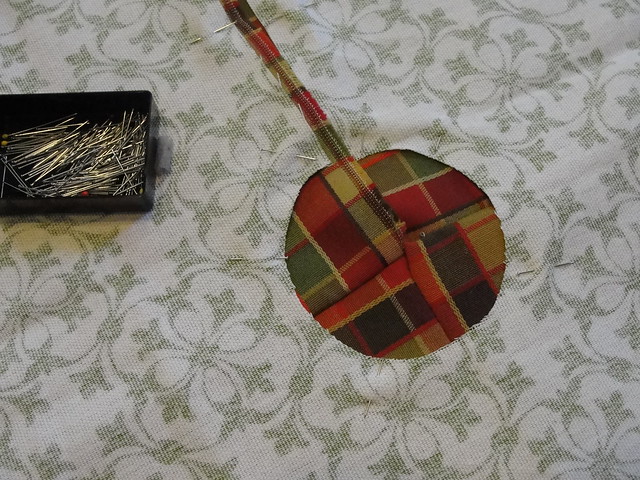
Carefully sew around all edges leaving a 4 to 6 inch hole for turning the skirt right side out.
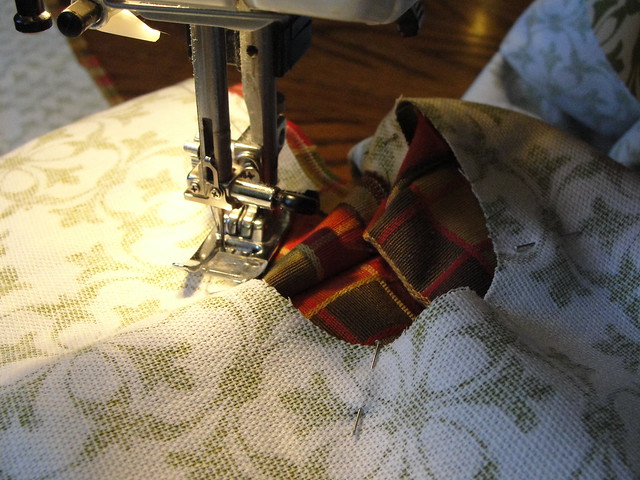
Flip! And top-stitch around all edges.
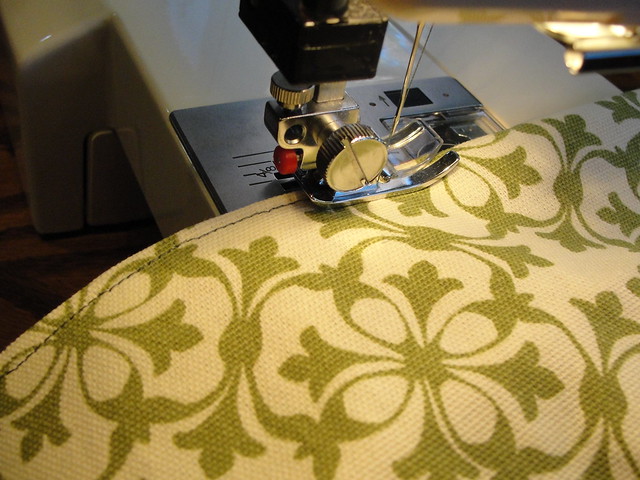
Pretty!
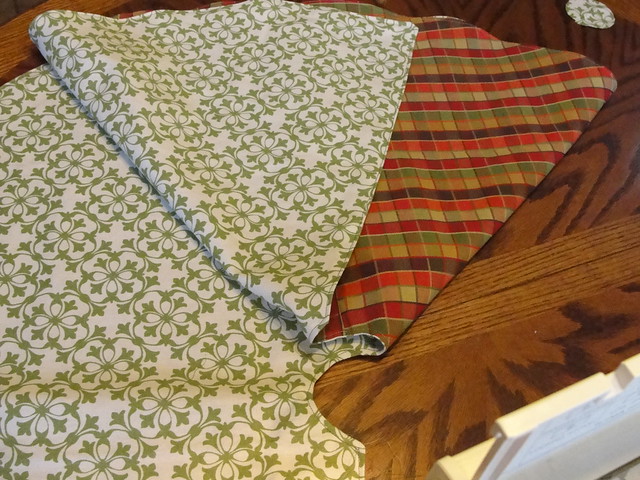
I think top-stitching looks so nice!
And the finished product! I like the red side best right now, but hopefully we will someday get new carpeting, and then maybe I will use the green side.
Have you ever decided you needed something and improvised to get it done in one day? Or one nap time?
Monday, December 3, 2012
Saturday, December 1, 2012
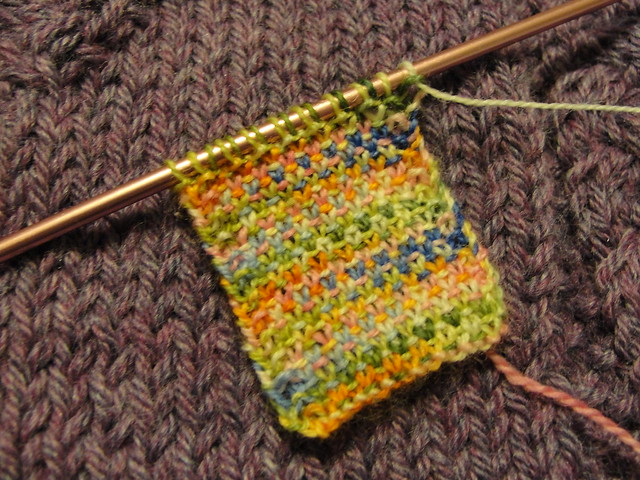
Linen Stitch, Something New!
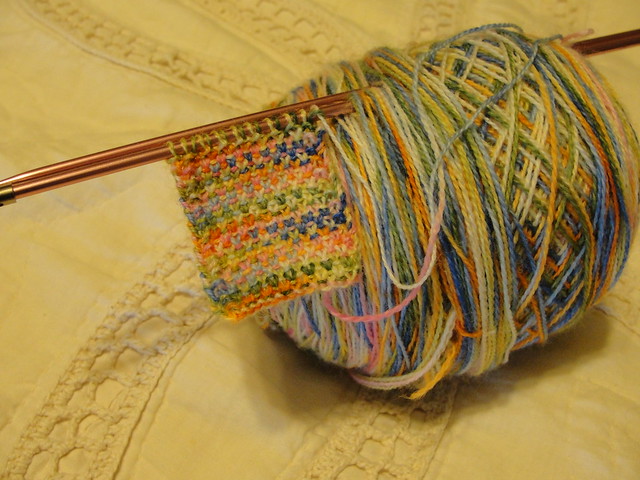
I decided to try out linen stitch to spread around the yarny love and make a bunch of bookmarks.... so far I have part of one complete. Linen stitch is not quick!
I am using the leftovers of my Madelinetosh Lace in Mansfield Garden Party, and this colorway is PERFECT for lovely linen stitch.
I love it!
To make a bookmark just like mine:
Laceweight Yarn
Size 3 US Needles
Cast on 17 stitches.
Row 1(Front): K1, P1, *K1, bring yarn to the front (YF), slip 1 purlwise, bring yarn to the back (YB), repeat from * until 3 stitches remain, K1, P1, K1
Row 2(Back): K1, P1, *YB, slip 1 purlwise, YF, P1 repeat from * until 3 stitches remain, slip 1 purlwise, P1, K1
Repeat these two rows until bookmark reaches desired length, cast off.
Subscribe to:
Posts (Atom)
Please, do not reproduce any content from this site without my written permission. You can reach me directly at lonestar(dot)knits(at)yahoo(dot)com. Thank you.