This is not the recommended way to make a tree skirt, but it was effective.
First, a tree skirt needs to be round (well most of the time). I took geometry. I do not remember much. When I want to draw a circle - I trace a water glass. I need a really big water glass - or in this case - the lid to our sandbox.
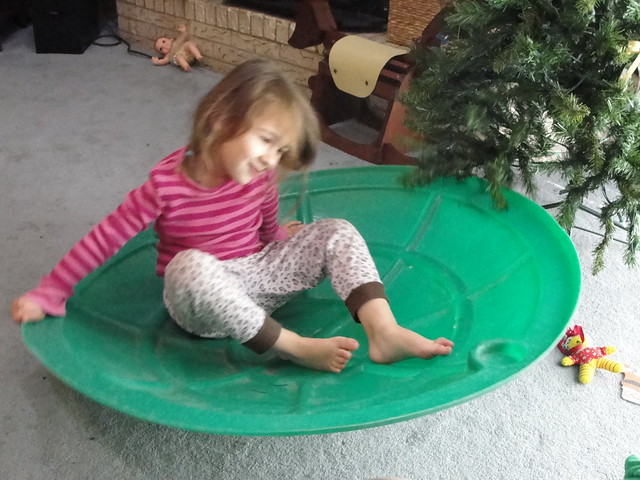


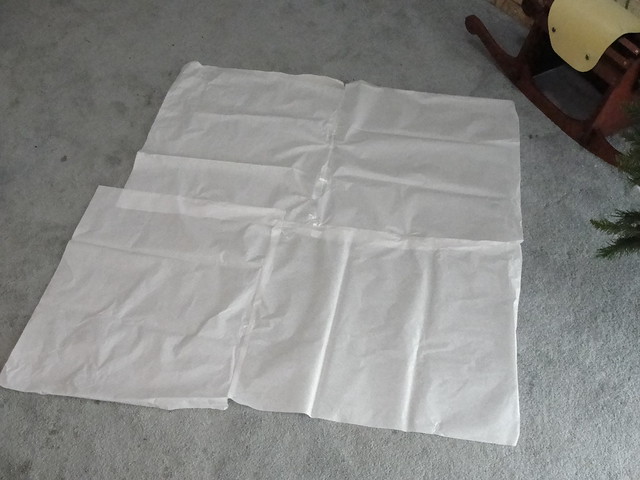
The girls were very happy to help. Then they were too helpful and I shut them in their room together for a few minutes so the wouldn't tear up my tissue paper.


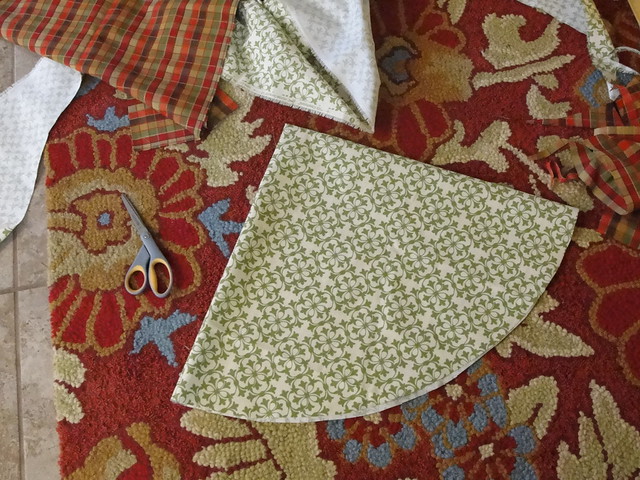
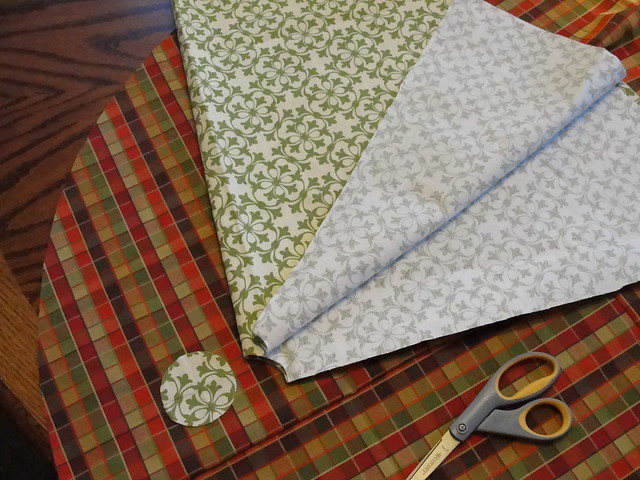
This is were I stopped... and restarted during nap time. I used my tissue template to cut a circle out of 2 fabrics. I used upholstery weight fabrics.
Match right sides together.

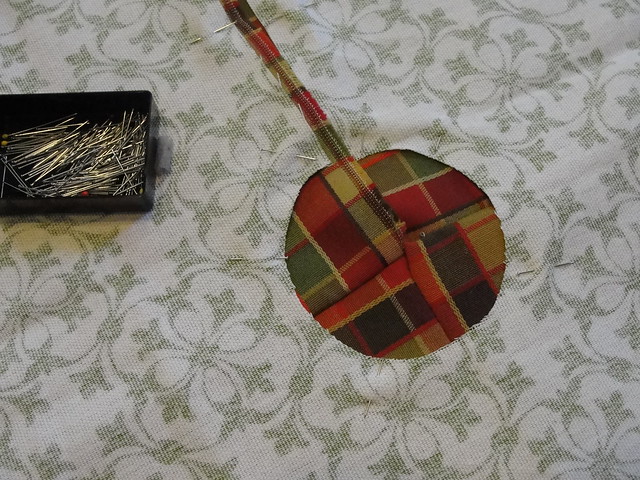
Cut a line from edge to interior, and a small circle in the center for the stem of your tree.
Pin at least the center. Yes! I used pins!!
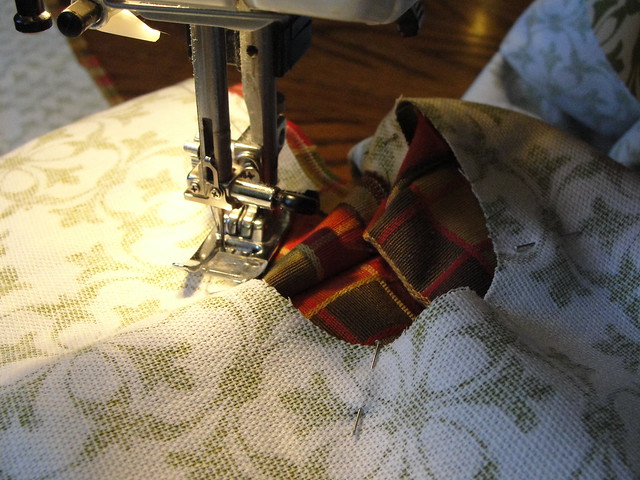
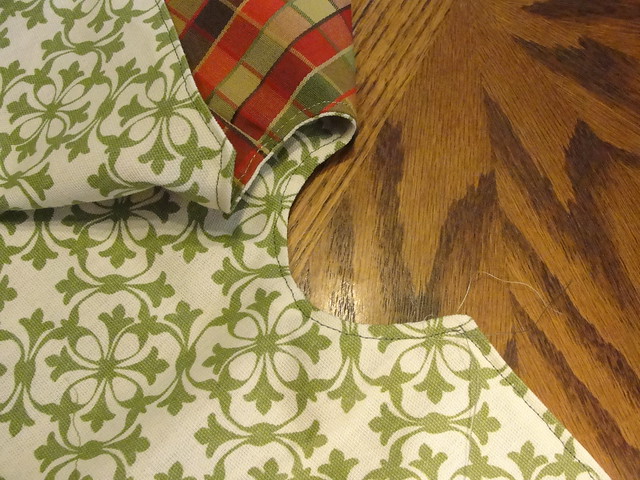
Carefully sew around all edges leaving a 4 to 6 inch hole for turning the skirt right side out.

Flip! And top-stitch around all edges.
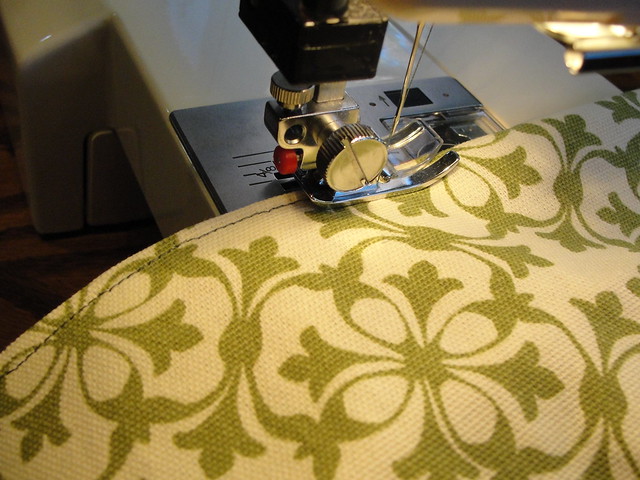
Pretty!
I think top-stitching looks so nice!
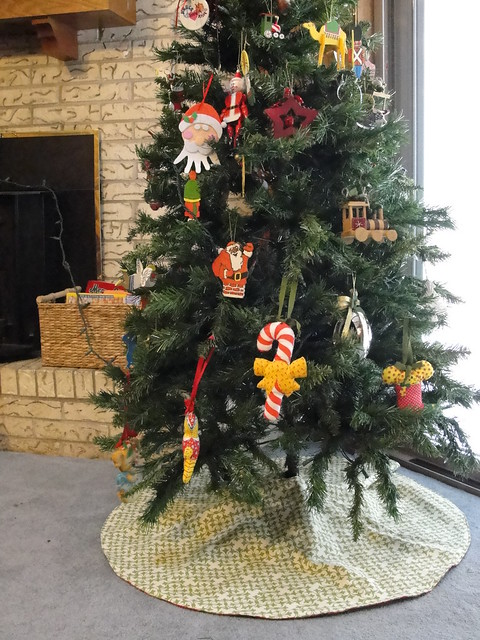
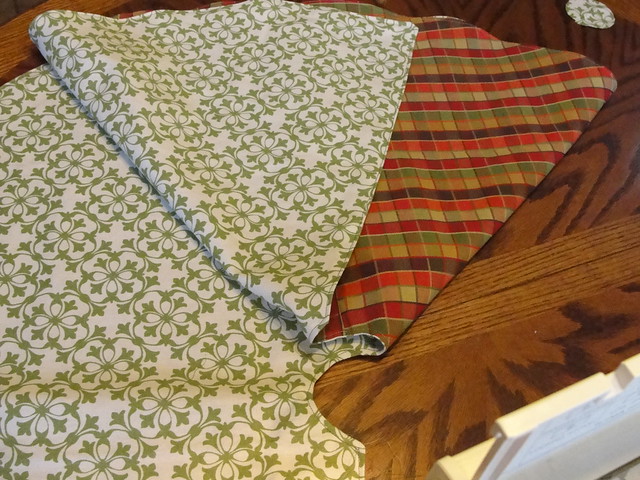
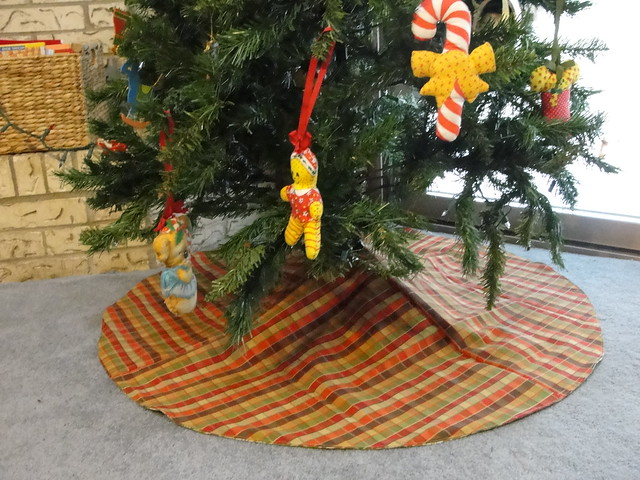
And the finished product! I like the red side best right now, but hopefully we will someday get new carpeting, and then maybe I will use the green side.
Have you ever decided you needed something and improvised to get it done in one day? Or one nap time?
Using the sandbox lid is cheating. I had to use a pin, string and pencil. Talk about being innovative, ha! That was the old days. Though I do love the photos of the girls with the lid, ha!
ReplyDeleteGreat post! Very innovative, and impressive! Of course, now I want some details and the back story, since I've encountered some technical problems when sewing large pieces (Have I shown you the full-size duvet cover I designed??). Did you purchase the fabric new or piece together scraps you already had? I can tell the plaid was not from one piece, but I can't tell with the green. Is the plaid just 4 large pieces?
ReplyDeleteYou are right! The plaid was actually fabric I had cut into large squares 4 years ago to make cloth napkins.... Obviously never happened! The green is fabric for another project (that also never happened) that I had never cut up. When I sew large objects I usually try to roll the edges. We will have to sew together sometime!
DeleteI think it turned out great! And the turtle shell was brilliant. For someone who doesn't like to sew you sure have more to show and tell than I do.
ReplyDelete